
HOW TO MAKE YOUR OWN PINA COLADA MIX.


8 oz. Cream of Coconut (it is very sweet so if you want a sweeter drink use a little more and vice versa)
8 oz. Crushed Pineapple (this gives it a bit of a pulpy texture, so if you want it smoother I would use plain Pineapple juice but then would use 6 not 8 ounces)
10 oz. Spiced Rum (we used Kraken and it's amazing)
4 oz. Grated Coconut (as a side-note there is definitely a texture associated with this ingredient)
And as much ice as you can fit into your blender then hit the play button on the blender.

All Photos by Cayetana Polanco of Mangolandia.com
HOW TO HARVEST AND COOK YOUR OWN MUSSELS:
First off go to a place where they have Mussels and wait for low-tide. We went to Bar Harbor, Maine to get ours. Now first you should look up the regulations on Mussel catching, in Maine you can take 2 bushels a day for personal consumption. We didn't take that many. Now go about looking right along the edge of where the waters have receded and look for tight bundles of "rocks" these will be mussels which have grabbed on to surrounding rocks and such. You will then have to "shuck" them off the rocks and put them into your pocket. Once you have enough head on back to your house or campsite (we prefer campsite with a firepit).


Start a big fire and then clean the Mussels while letting the fire burn
down. Once the Mussels are cleaned and the fire hot you can toss the
Mussels into some tinfoil with a bit of water and spices (coconut milk
works well too) and let them simmer in there for a bit. Once they start
to open up you can take them out of the tinfoil and place them above the
heat for a delicious smoky flavor. You probably are going to want to
eat something else as well, we made a cream curry pasta, you can make
whatever you want. Once the mussels have turned a slight orange go ahead
and consume them - on the halfshell or mixed into pasta or with a wee
bit of hot sauce. Enjoy.


HOW TO CHANGE HID HEADLIGHT IN 2004 PRIUS:

Step 1: Buy the bulb - it costs 80-90 bucks from your local NAPA Auto
Parts store. If you are in a smaller town you will probably have to stay
in that town another night while waiting for the bulb to arrive.


Step 3: Once you have the plastic out of your way - you will need to
turn the fins of the headlight assembly casing counter-clockwise or in
my case struggle with it never being opened before for 20 minutes before
deciding to use penetrating oil on the seals and waiting then coming
back and struggling more before it finally budged.


Step 5: Now the assembly case and the coil is out you need to reach up
on top of the actual bulb and feel around for two little metal clips
that need to be pushed in and then one to the left and one to the right
so the clip can fall out of the way of the bulb and allow you to remove
it.

Step 6: The bulb should then slide out pretty easily. Once it is out now
you have the fun task of doing the exact same thing, but in reverse.
It's actually pretty easy going in reverse, just make sure the metal
clip is in the exact right place otherwise it all falls to hell pretty
quick.
 |
| This little piece of glass, wire filament, and plastic is forged in the depths of Hell and will consume you. |
HOW TO BUILD A BED FRAME IN A PRIUS:


The above graphic (click on the pic for larger view) shows the
measurements (rounded off) for the trunk/rear seat width and length.
There is 38 inches of available space on the bottom of the trunk, 40.5
inches in the upper wheel well area(although, I was able to go to 41
inch slats and just stretched the fabric), and the available space from
door to door is 51(I cut the slats to 48 inches instead because it is
easier to reach our under-bed storage compartments). And finally the
realistic length from where the door shuts to the seats in forward
upright position is 73 inches. Also the height from trunk floor to
ceiling varies from ~18" to ~36".


The next step, was to remove the rear seatbacks which ended up being
just the removal of four 14mm bolts attached on top of the folded seats
under the velcro cloth. They pulled right out. Then, I was able to
remove the actual rear seats by folding forward until they click then
laying them flat again and lifting straight up. The only drawback I've
noticed from this is that the sound of the hybrid engine engaging is
actually noticeable now.

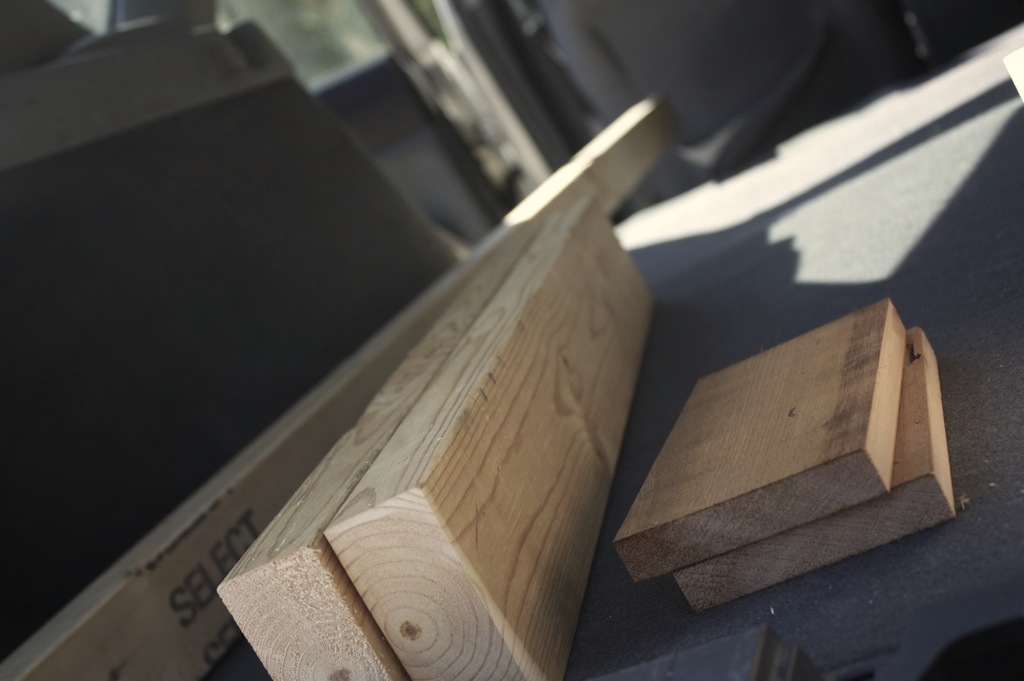

I then cut a 2x6 into two 2x3's for the runners of the frame which I
cut at 68 inches. I also cut the legs for the trunk and rear foot space -
the trunk legs being ~7 inches high* and the rear foot space legs being
20.75 inches with a .5" foot. I then attached the trunk legs with two 3
1/2" screws and the r/foot legs with one 3 1/2" screw in order to turn
the 2x4 outwards so the hinge could rest there.
*I kept the space between the trunk and the bottom of the bedframe just
under 7 inches high so we could slide our storage bins in and out.


